Viewing 3D Model Formats in OcuMap

Viewing 3D Model Formats in OcuMap

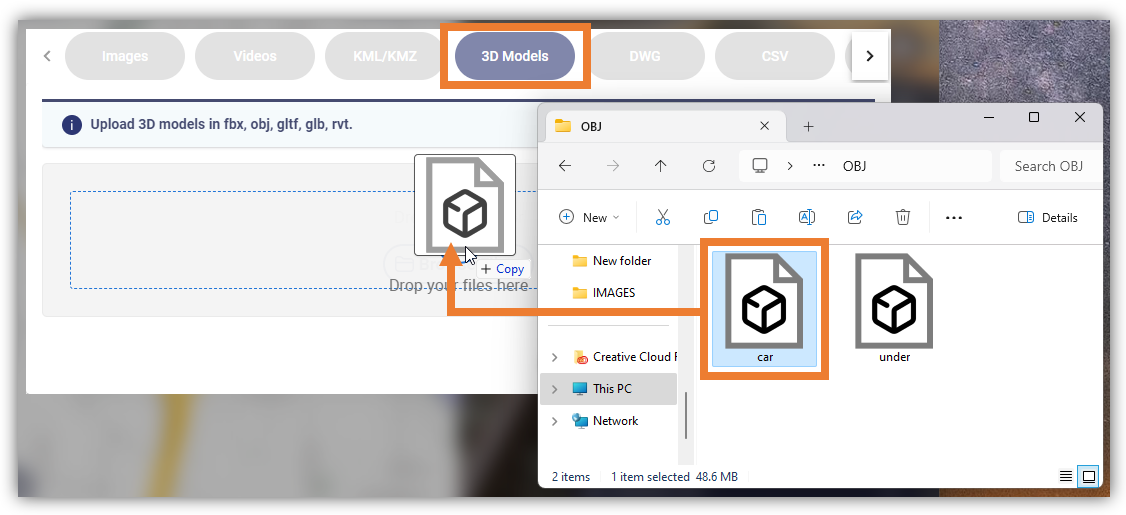
In this article, you will learn how to upload and view 3D Model file formats in OcuMap. It is important to note when uploading files to OcuMap, you are required to select the appropriate file format. This will ensure that these files are properly categorized. Once a file is uploaded, you can associate it with location by clicking on the three dots next to the file name, then select the pin to add an address. If you prefer to associate your file with Lat/long, you can do so from file manager.


Five (5) sub-articles focused on specific 3D Model formats that include:

How to View Filmbox (.FBX) Files in OcuMap

1. Open the Project where you want to add the .FBX file.

2. On the Project Menu, find and click the UPLOAD button.

3. The Upload File window will appear, click the 3D Models tab before uploading the file(s).

4. You can use the Browse Files button to manually select the image file or Drag and Drop the file(s) in the 3D Models section.

a. Note: You can add multiple file(s) by dragging and dropping them in the 3D Models section.

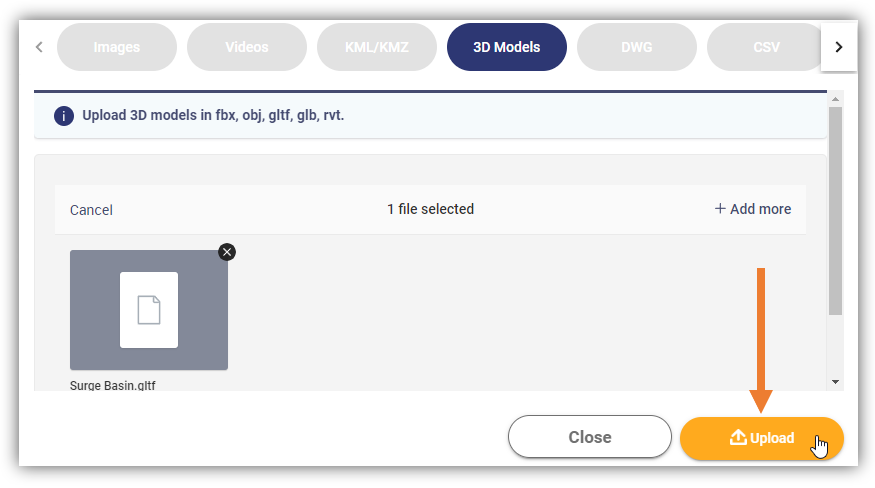
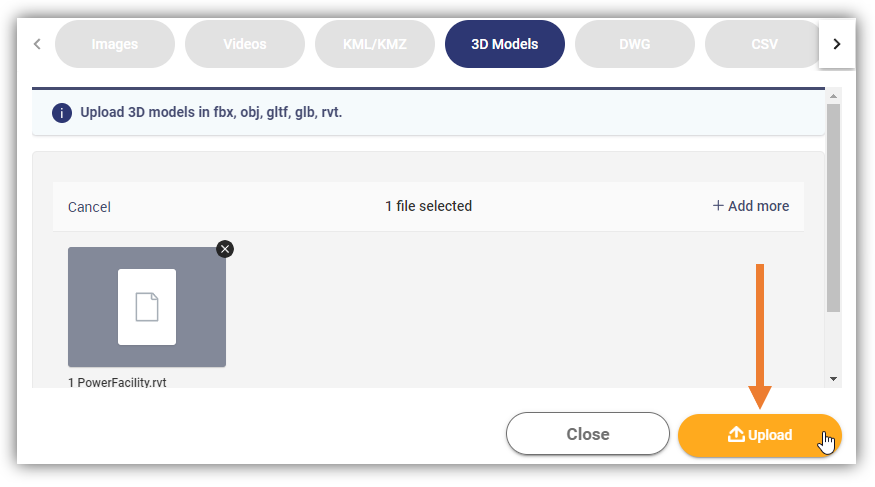
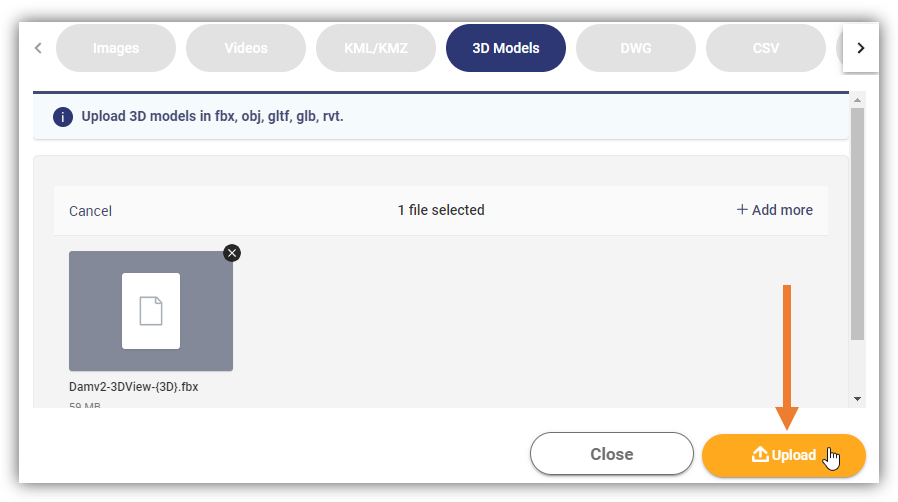
5. After adding the file(s) click the Upload button. Once the FBX file is uploaded, the 3D  icon will appear in the Project Menu.

How to View .OBJ Files in OcuMap

1. Open the Project where you want to add the .OBJ file.

2. On the Project Menu, find and click the UPLOAD button.

3. The Upload File window will appear, click the 3D Models tab before uploading the file(s).

4. You can use the Browse Files button to manually select the image file or Drag and Drop the file(s) in the 3D Models section.

a. Note: You can add multiple file(s) by dragging and dropping them in the 3D Models section.

5. After adding the file(s) click the Upload button. Once the OBJ file is uploaded, the 3D icon will appear in the Project Menu.

How to View Graphics Library Transmission Format (.GLTF) Files in OcuMap

1. Open the Project where you want to add the .GLTF file.

2. On the Project Menu, find and click the UPLOAD button.

3. The Upload File window will appear, click the 3D Models tab before uploading the file(s).

4. You can use the Browse Files button to manually select the image file or Drag and Drop the file(s) in the 3D Models section.

a. Note: You can add multiple file(s) by dragging and dropping them in the 3D Models section.

5. After adding the file(s) click the Upload button. Once the GLTF file is uploaded, the 3D icon will appear in the Project Menu.

How to View GL Binary (.GLB) Files in OcuMap

1. Open the Project where you want to add the .GLB file.

2. On the Project Menu, find and click the UPLOAD button.

3. The Upload File window will appear, click the 3D Models tab before uploading the file(s).

4. You can use the Browse Files button to manually select the image file or Drag and Drop the file(s) in the 3D Models section.

a. Note: You can add multiple file(s) by dragging and dropping them in the 3D Models section.

5. After adding the file(s) click the Upload button. Once the GLB file is uploaded, the 3D icon will appear in the Project Menu.

How to View Autodesk Revit Project Files (.RVT) Files in OcuMap

1. Open the Project where you want to add the .RVT file.

2. On the Project Menu, find and click the UPLOAD button.

3. The Upload File window will appear, click the 3D Models tab before uploading the file(s).

4. You can use the Browse Files button to manually select the image file or Drag and Drop the file(s) in the 3D Models section.

a. Note: You can add multiple file(s) by dragging and dropping them in the 3D Models section.

5. After adding the file(s) click the Upload button. Once the GLTF file is uploaded, the 3D icon will appear in the Project Menu.