There are two (2) ways to share a project; (1) By sending it to the person’s email address, this will require the person to signup for a contributor or viewer account depending on the level of authority you specified. (2) by generating a sharable link that is valid for 30 days only. This option will not require the user to signup before they can view the project.
Projects can be shared as follows:
Project List Settings Icon
1. Ensure that you are logged in to your OcuMap account.
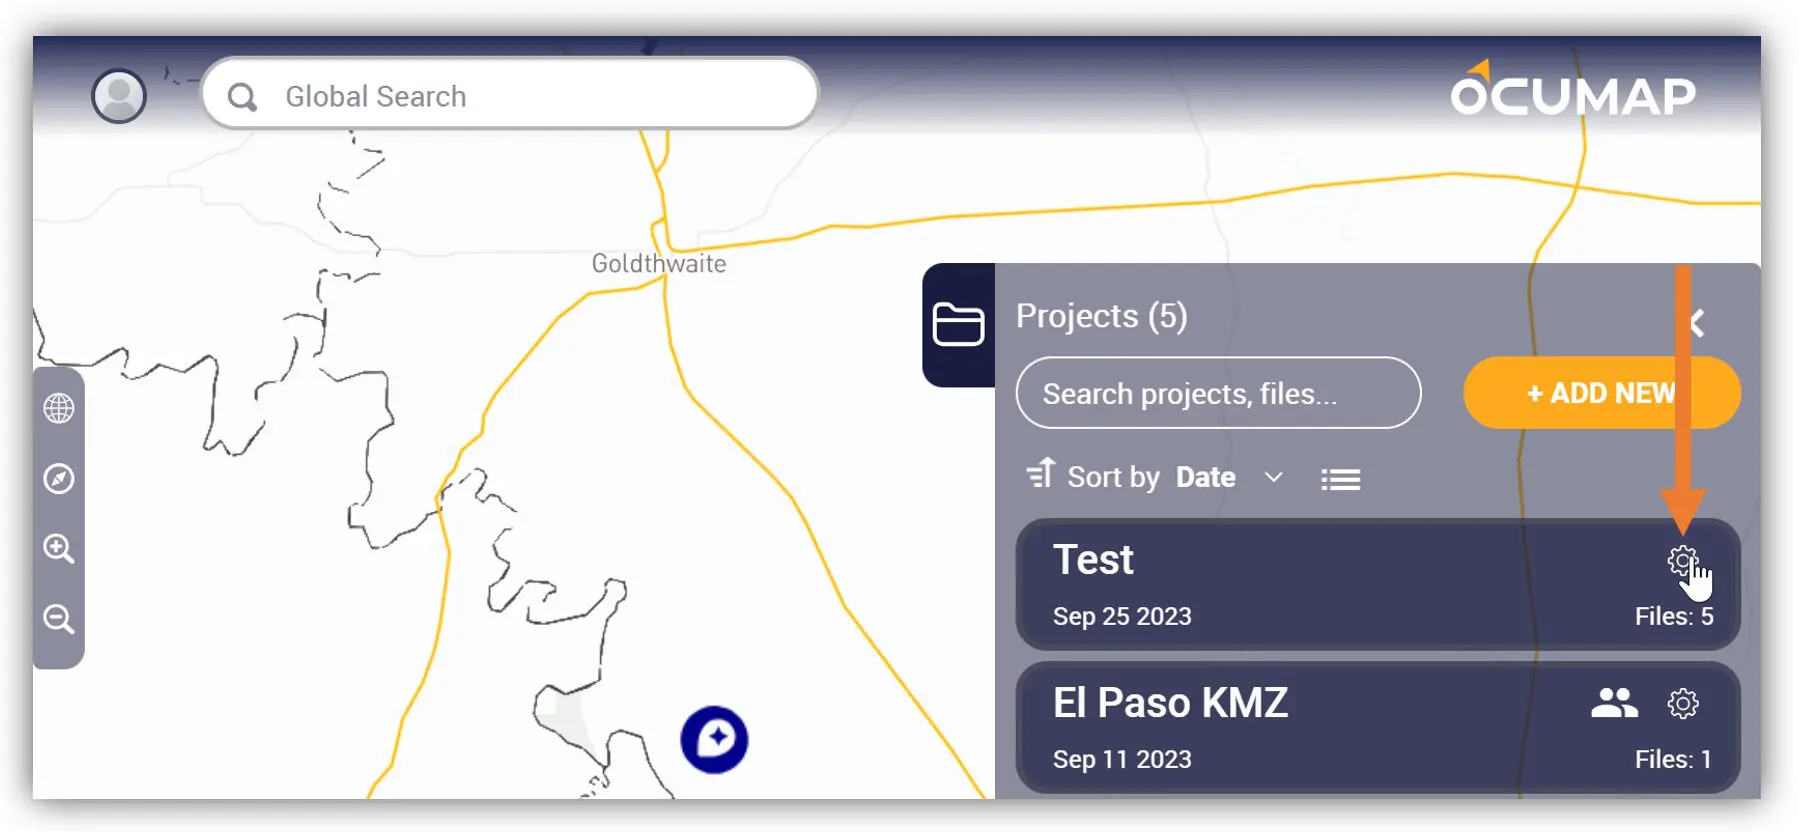
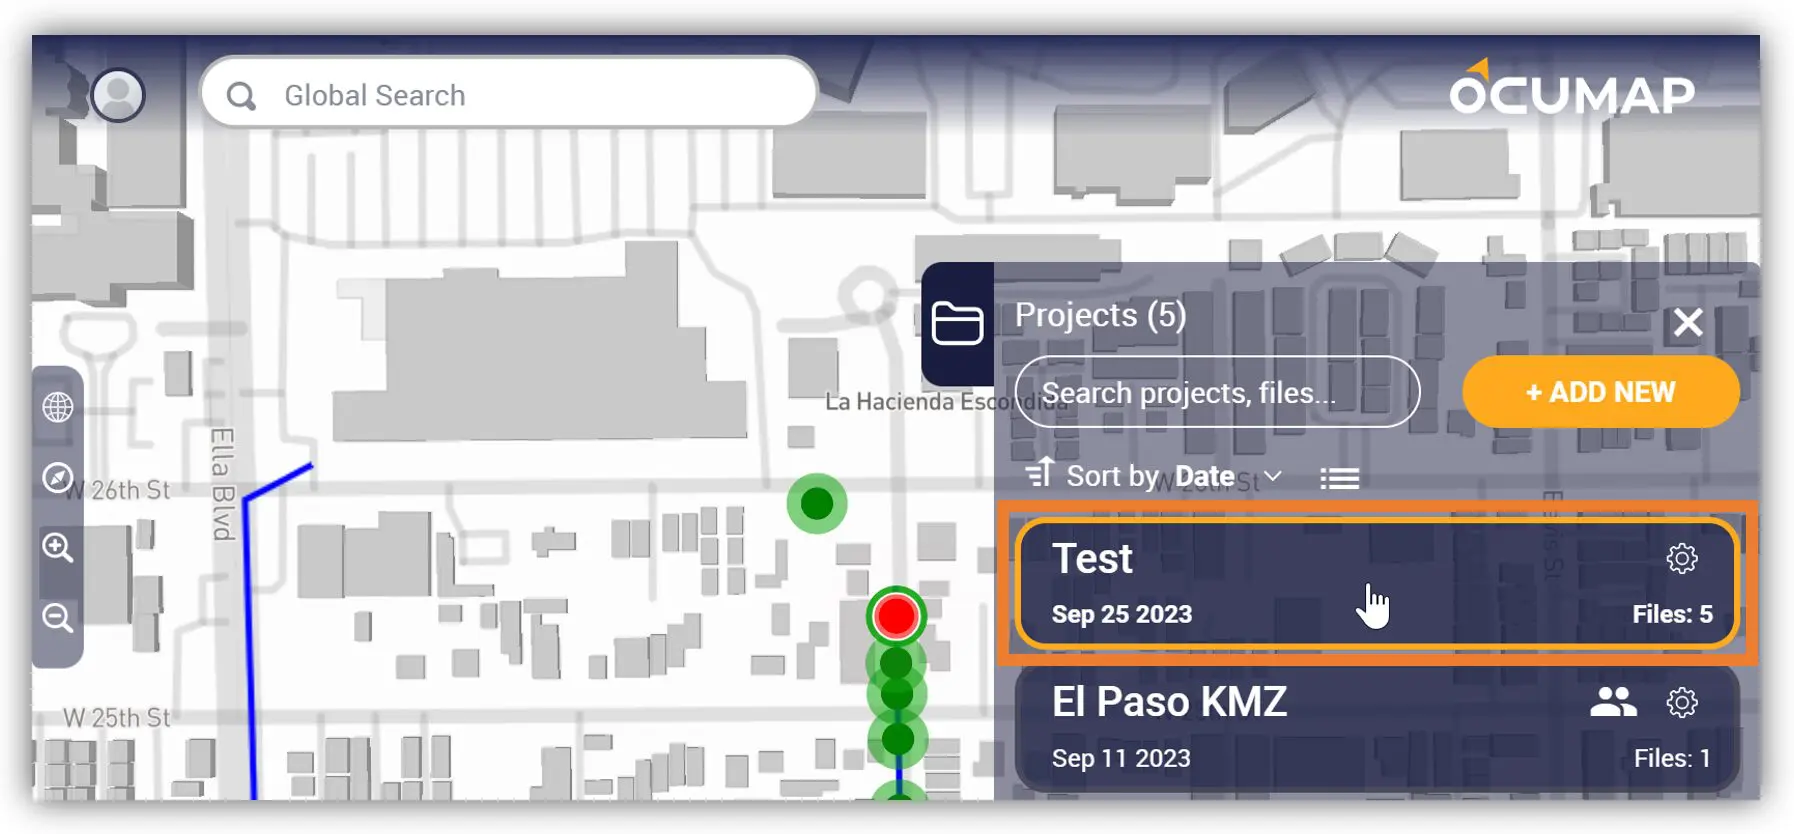
2. On the Home Screen, find the Project panel and click the Project’s Settings icon.
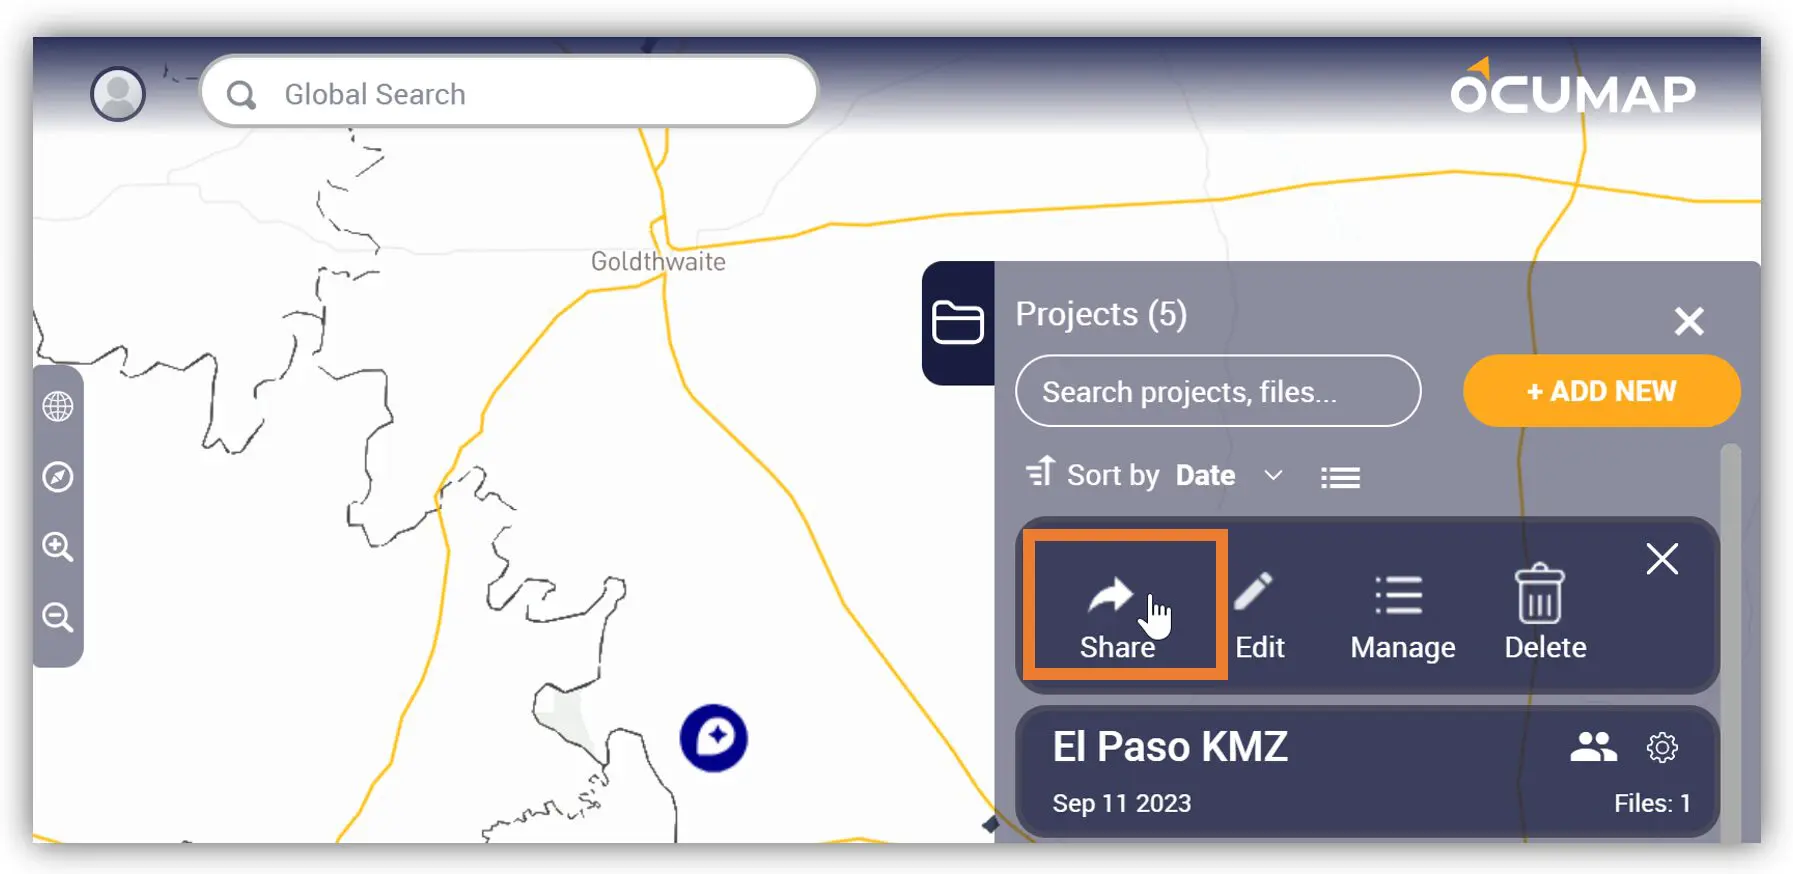
3. The Project Settings will expand, click the Share icon.
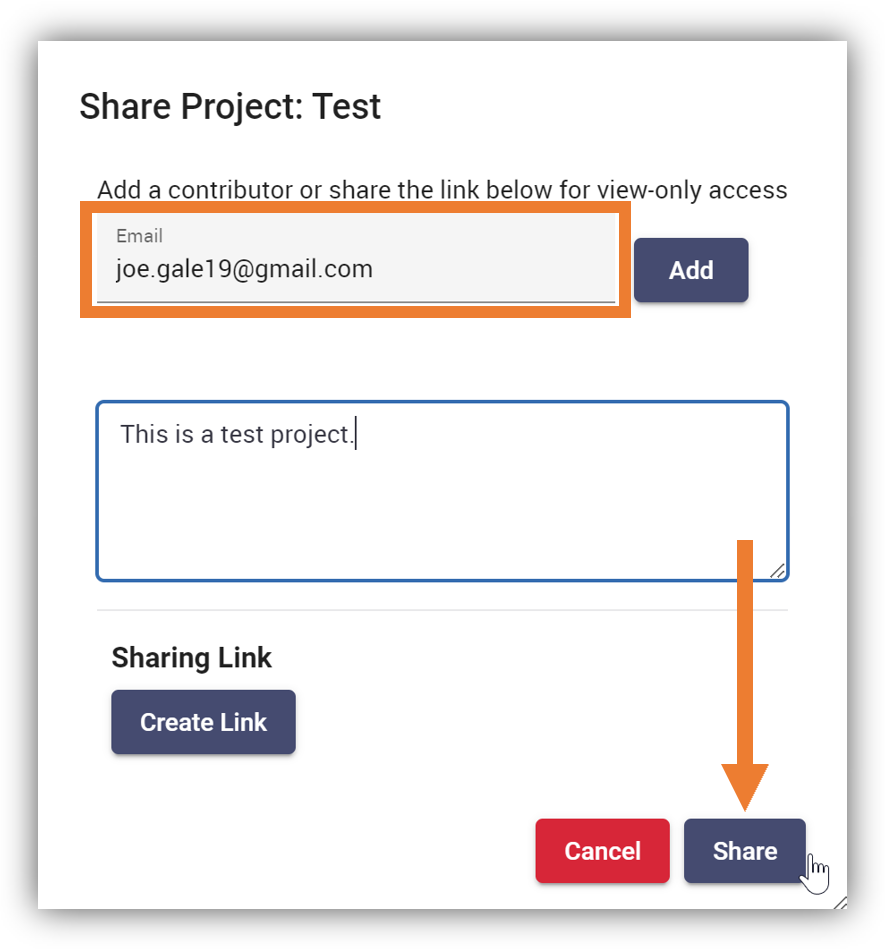
4. The Share Project: <Project Name> window will appear.
5. In the Email field, enter the email address of the recipient with whom you want to share this project. You can also decide if you want this person to view only or comment/edit.
6. In the Add comments field, enter a comment if necessary.
7. Click Share to send an invitation to collaborate. After clicking the Share button, an email invitation will be sent out to the recipient.
Within the Project
In this article, you will learn how to share a project within the project itself.
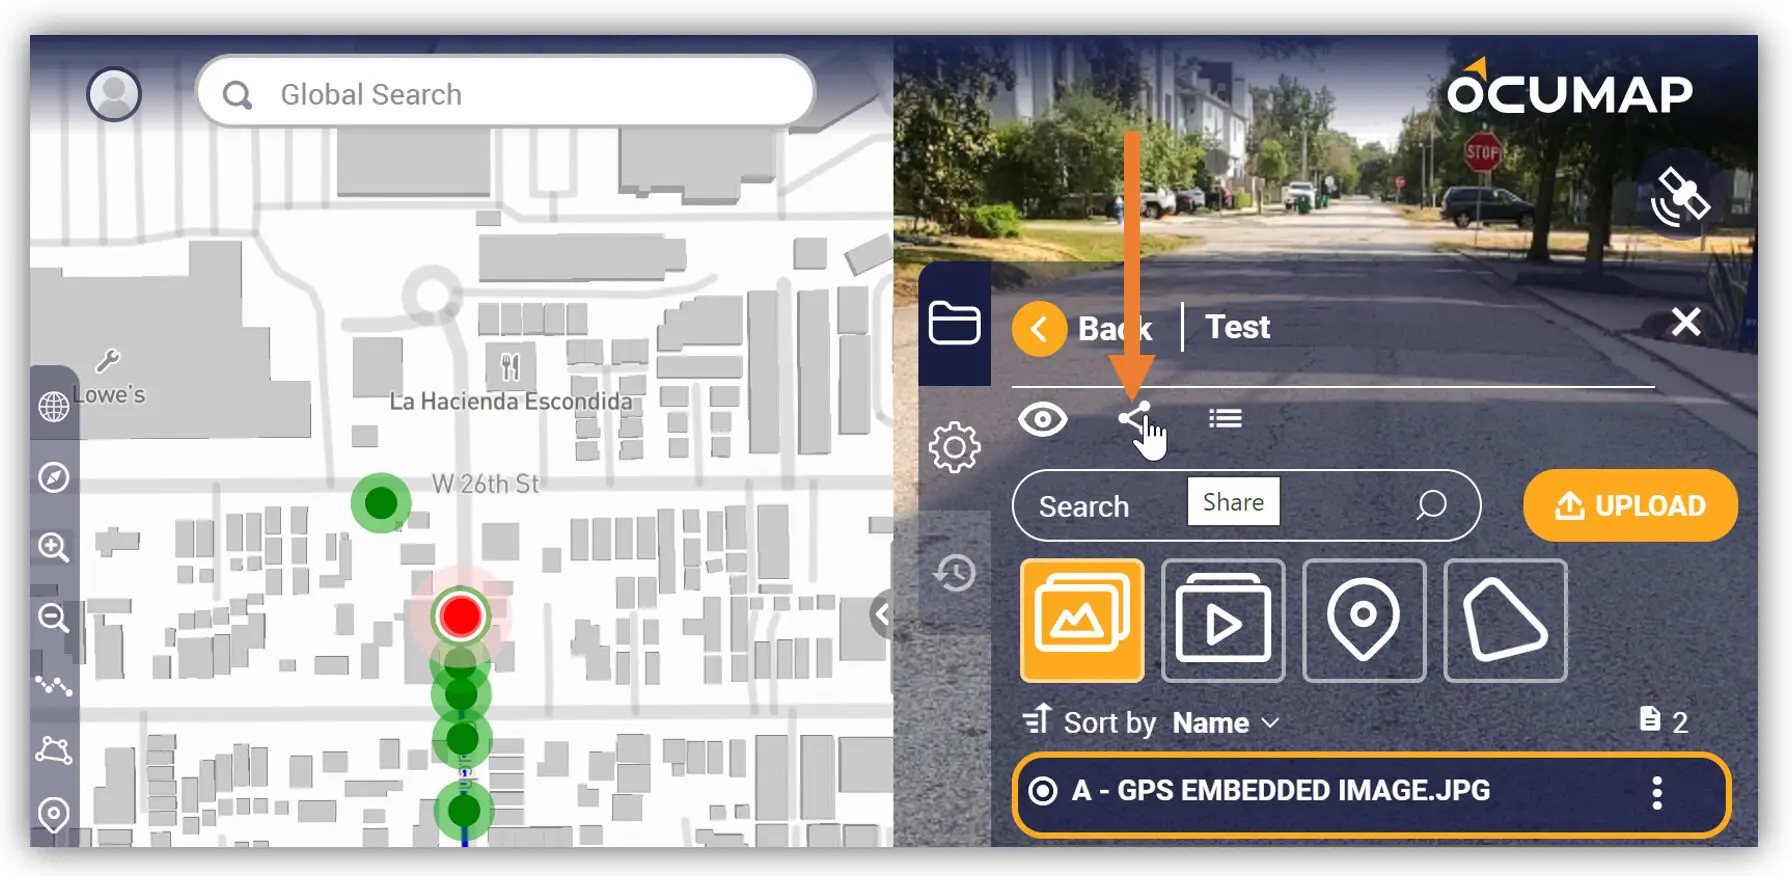
1. Open the Project that you want to share by clicking the project name from the Project Panel.
2. Once the selected project opens, click the Share icon.
3. The Share Project: <Project Name> window will appear.
4. In the Email field, enter the email address of the recipient with whom you want to share this project.
5. In the Add comments field, enter a comment if necessary.
6. Click Share to send an invitation to collaborate. After clicking the Share button, an email invitation will be sent out to the recipient.
File Manager
The File Manager method lets you share projects within the File Manager screen. This method enables you to share projects while managing your files or when you are browsing in this screen. There’s no need for you to go back to the Home page or open the project to share it as the Share option is also available in the File Manager screen.
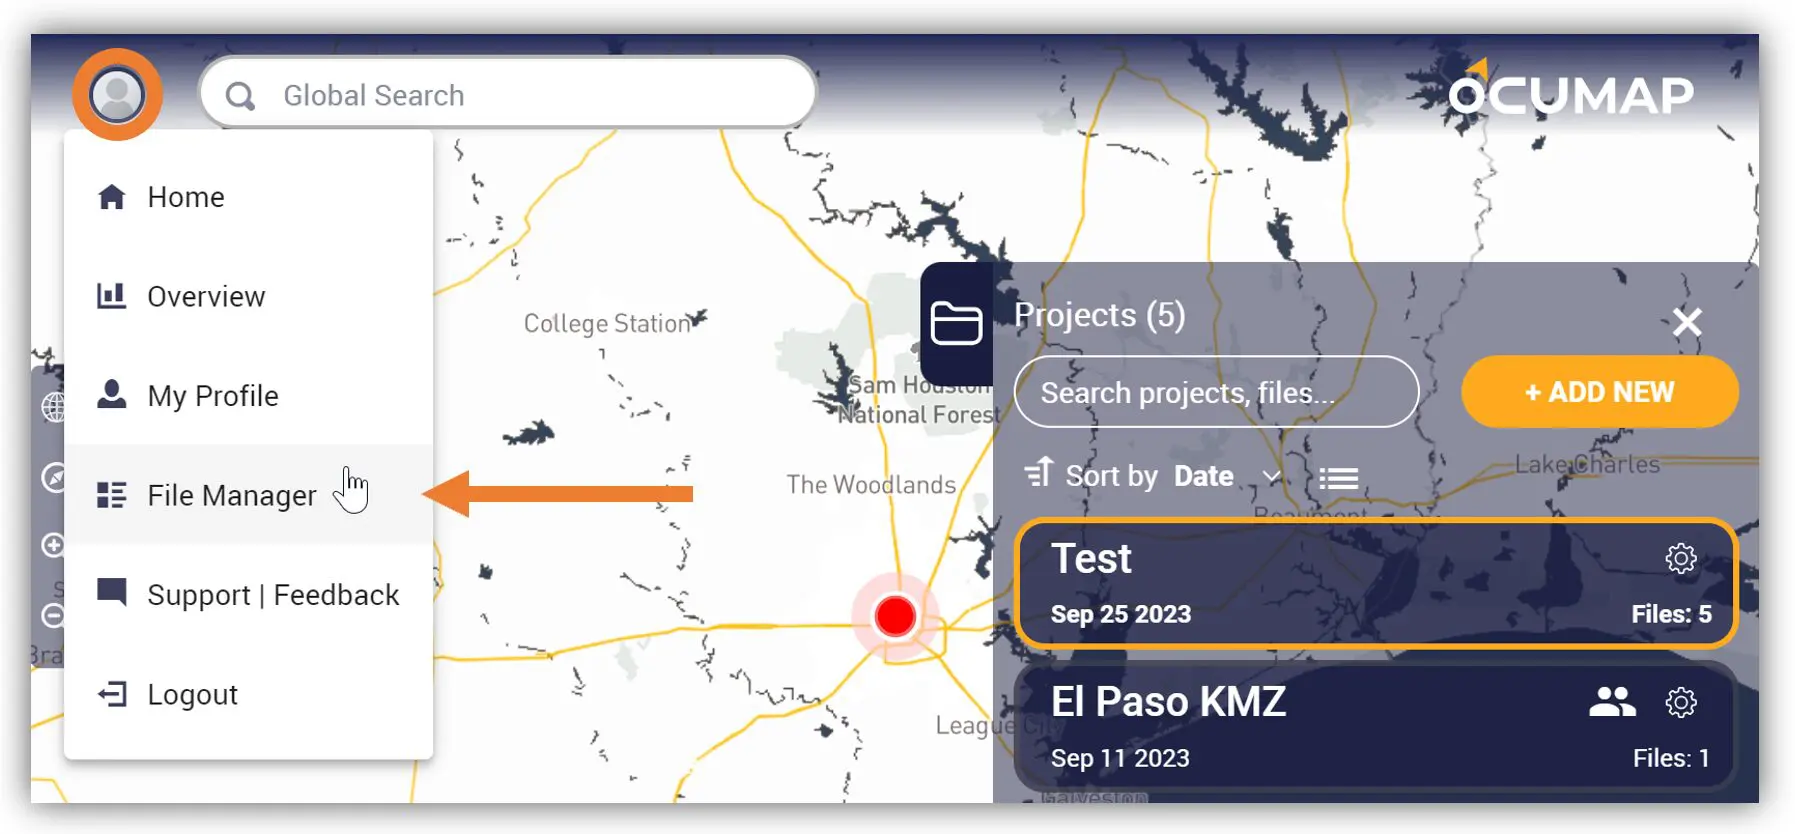
1. In the upper left corner, click the Account Settings to display more options.
2. Click File Manager. You will be directed to the File Manager tab.
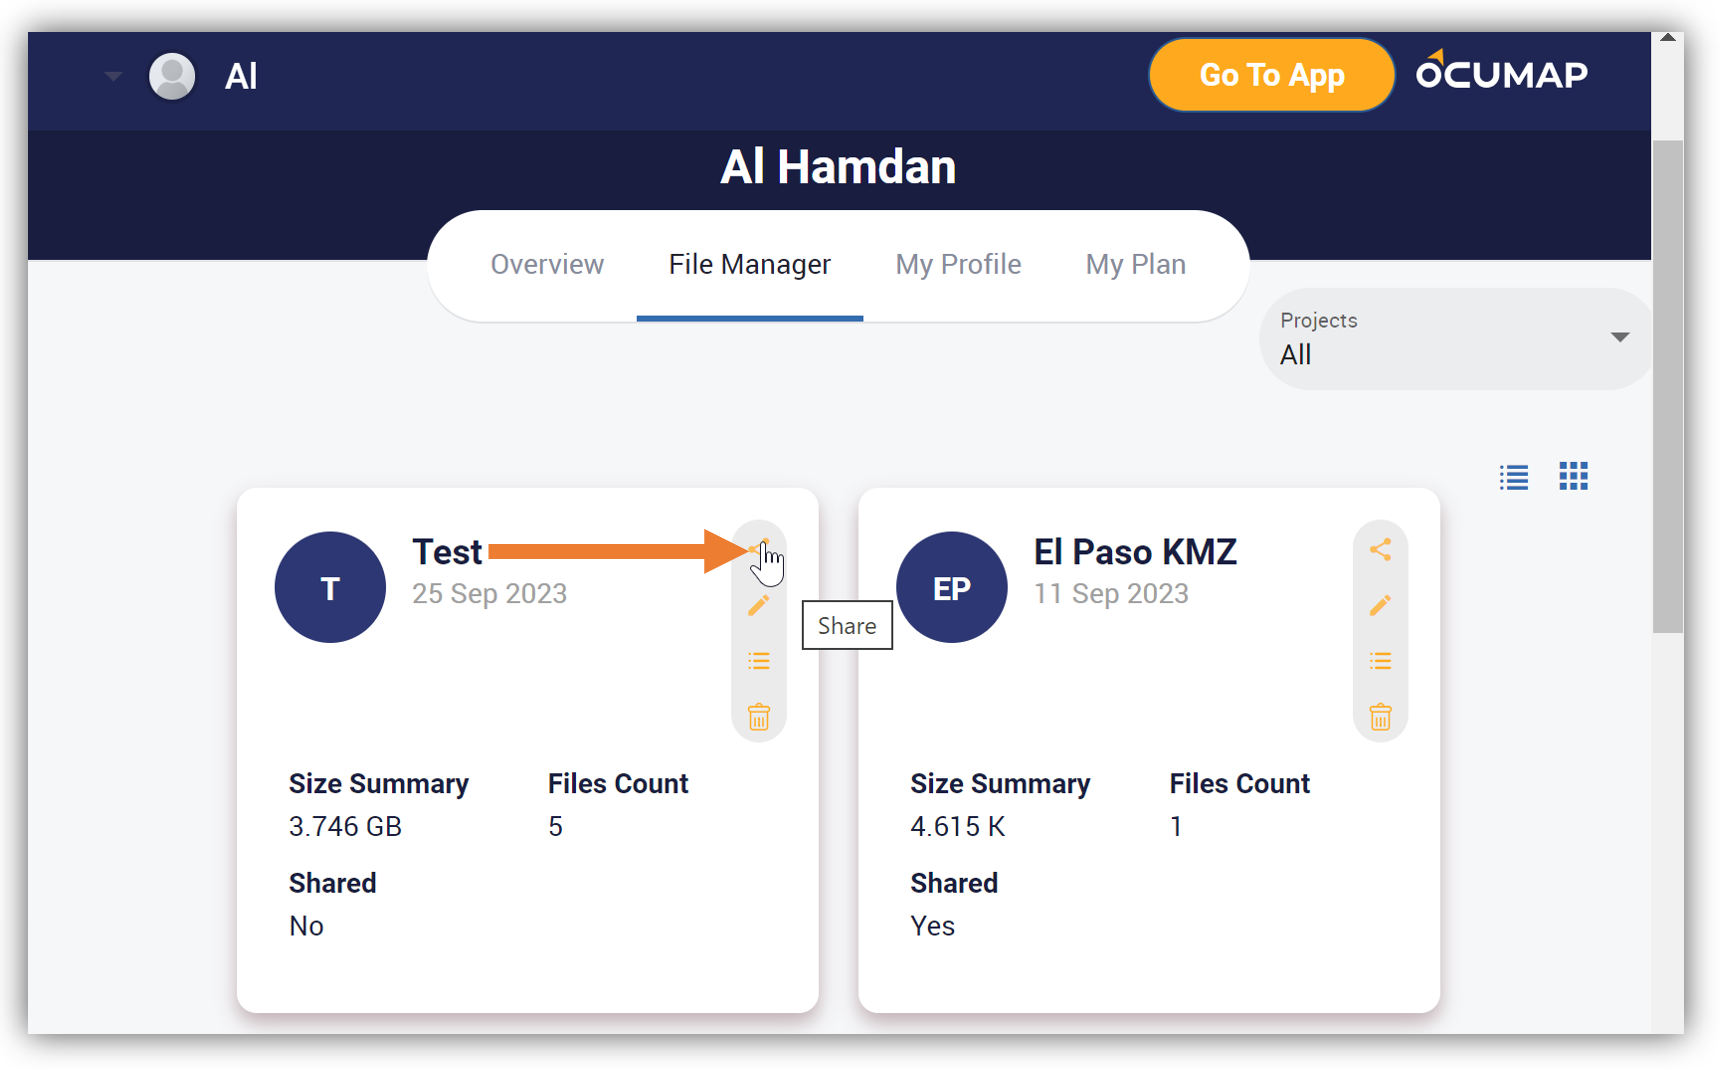
3. Find the project that you want to share and click its Share icon.
4. The Share Project: <Project Name> window will appear.
5. In the Email field, enter the email address of the recipient with whom you want to share this project.
6. In the Add comments field, enter a comment if necessary.
7. Click Share to send an invitation to collaborate. After clicking the Share button, an email invitation will be sent out to the recipient.
Shareable Link
The Shareable Link method enables you to generate a link or a URL that you can copy and send via email or directly paste on a messaging platform (e.g. Slack, Messenger, etc.)
The Create Link button is accessible in all the previous 3 methods, but for this example, we will use the easiest way to access the option.
1. Ensure that you are logged in to your OcuMap account.
2. On the Home Screen, find the Project panel and click the Project’s Settings icon.
3. The Project Settings will expand, click the Share icon.
4. The Share Project: <Project Name> window will appear.
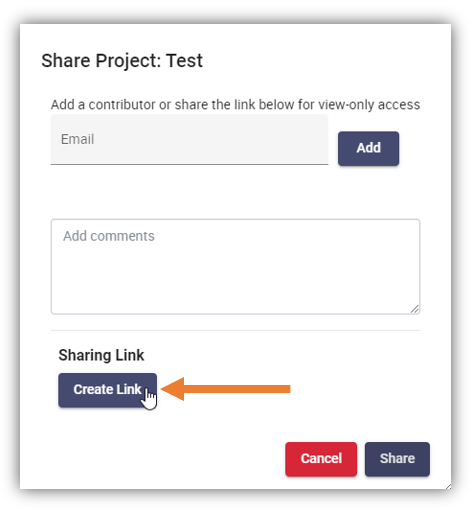
5. Find the Sharing Link field and click the Create Link button.
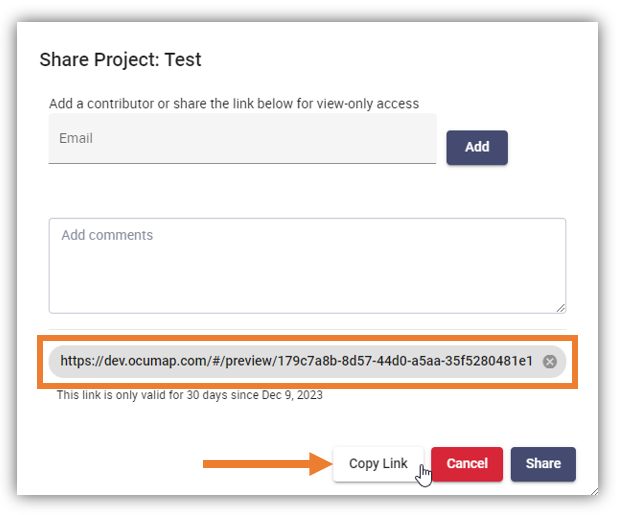
6. A shareable link will be generated. It is important to note that the link is only valid for 30 days since it was generated.
7. Click the Copy Link button at the bottom and share. You may now send the shareable link to an email or directly paste it on a messaging platform.
 4. The Share Project: <Project Name> window will appear.