In this article, you will learn how to upload .DWG files to OcuMap and associate the file with an address on the map. It is important to note when uploading files to OcuMap, you are required to select the appropriate file format. This will ensure that these files are properly categorized.
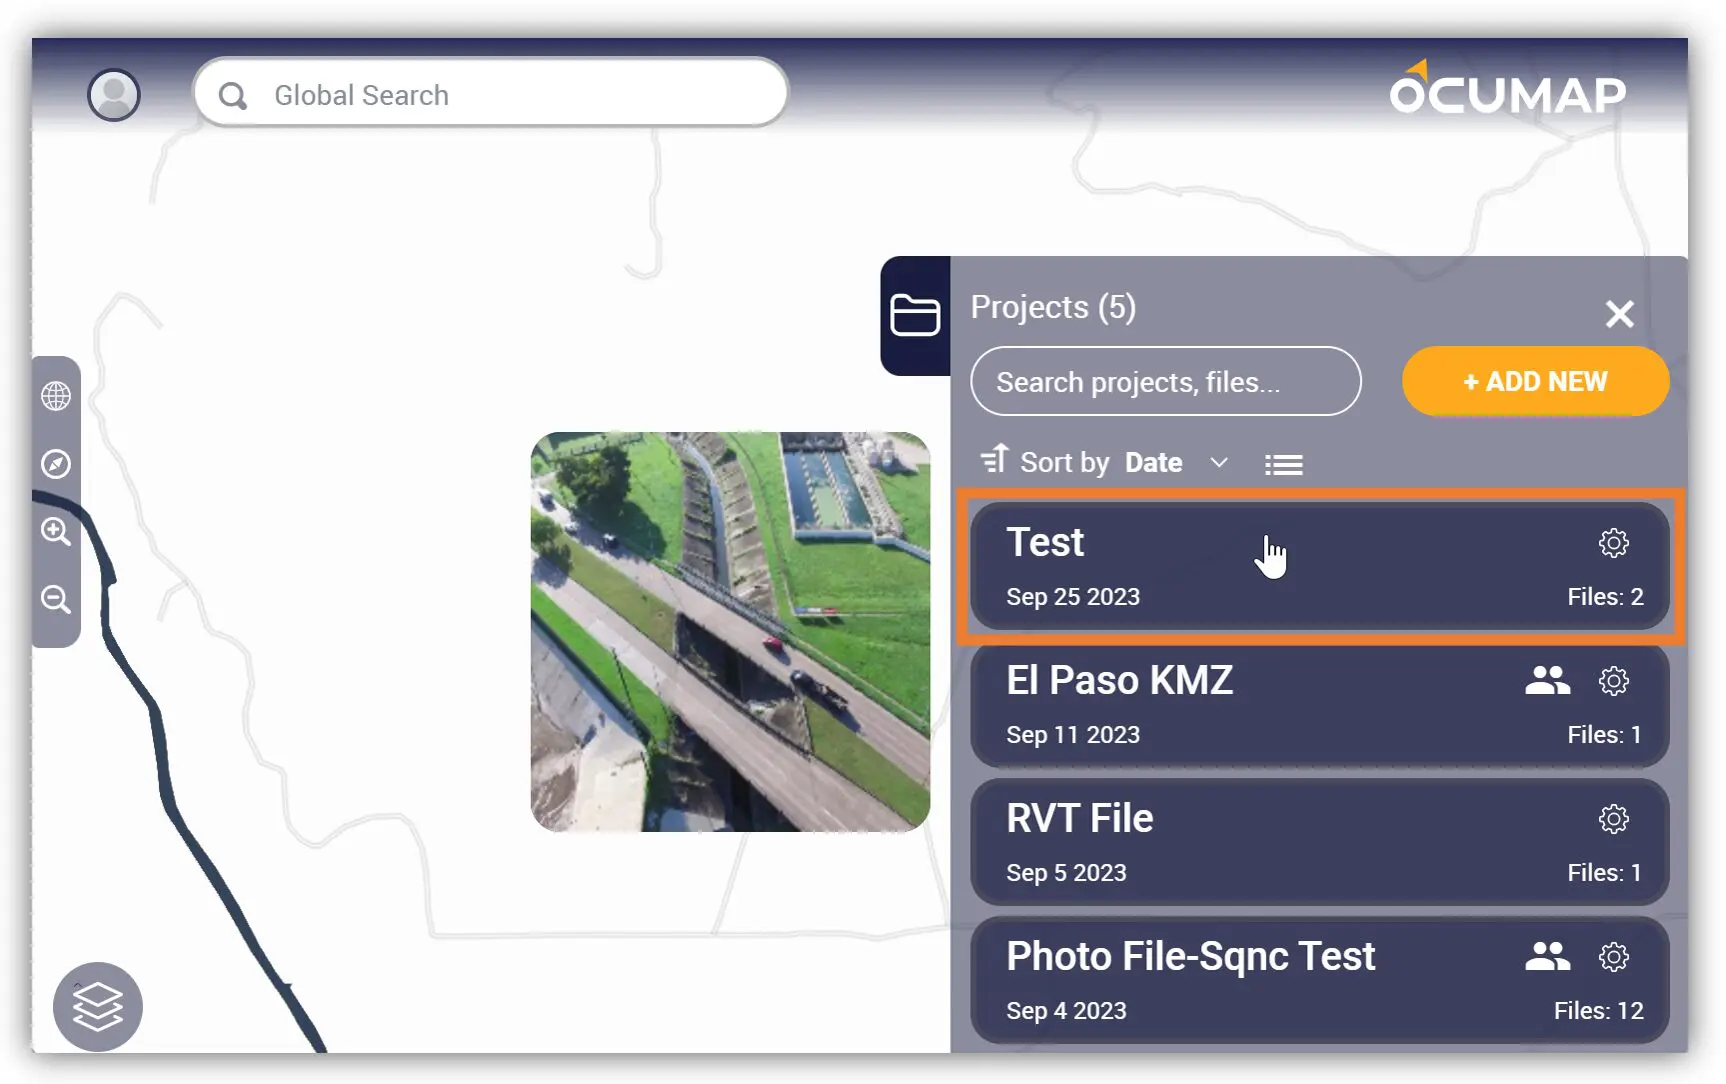
1. Open the Project where you want to add the .DWG file.
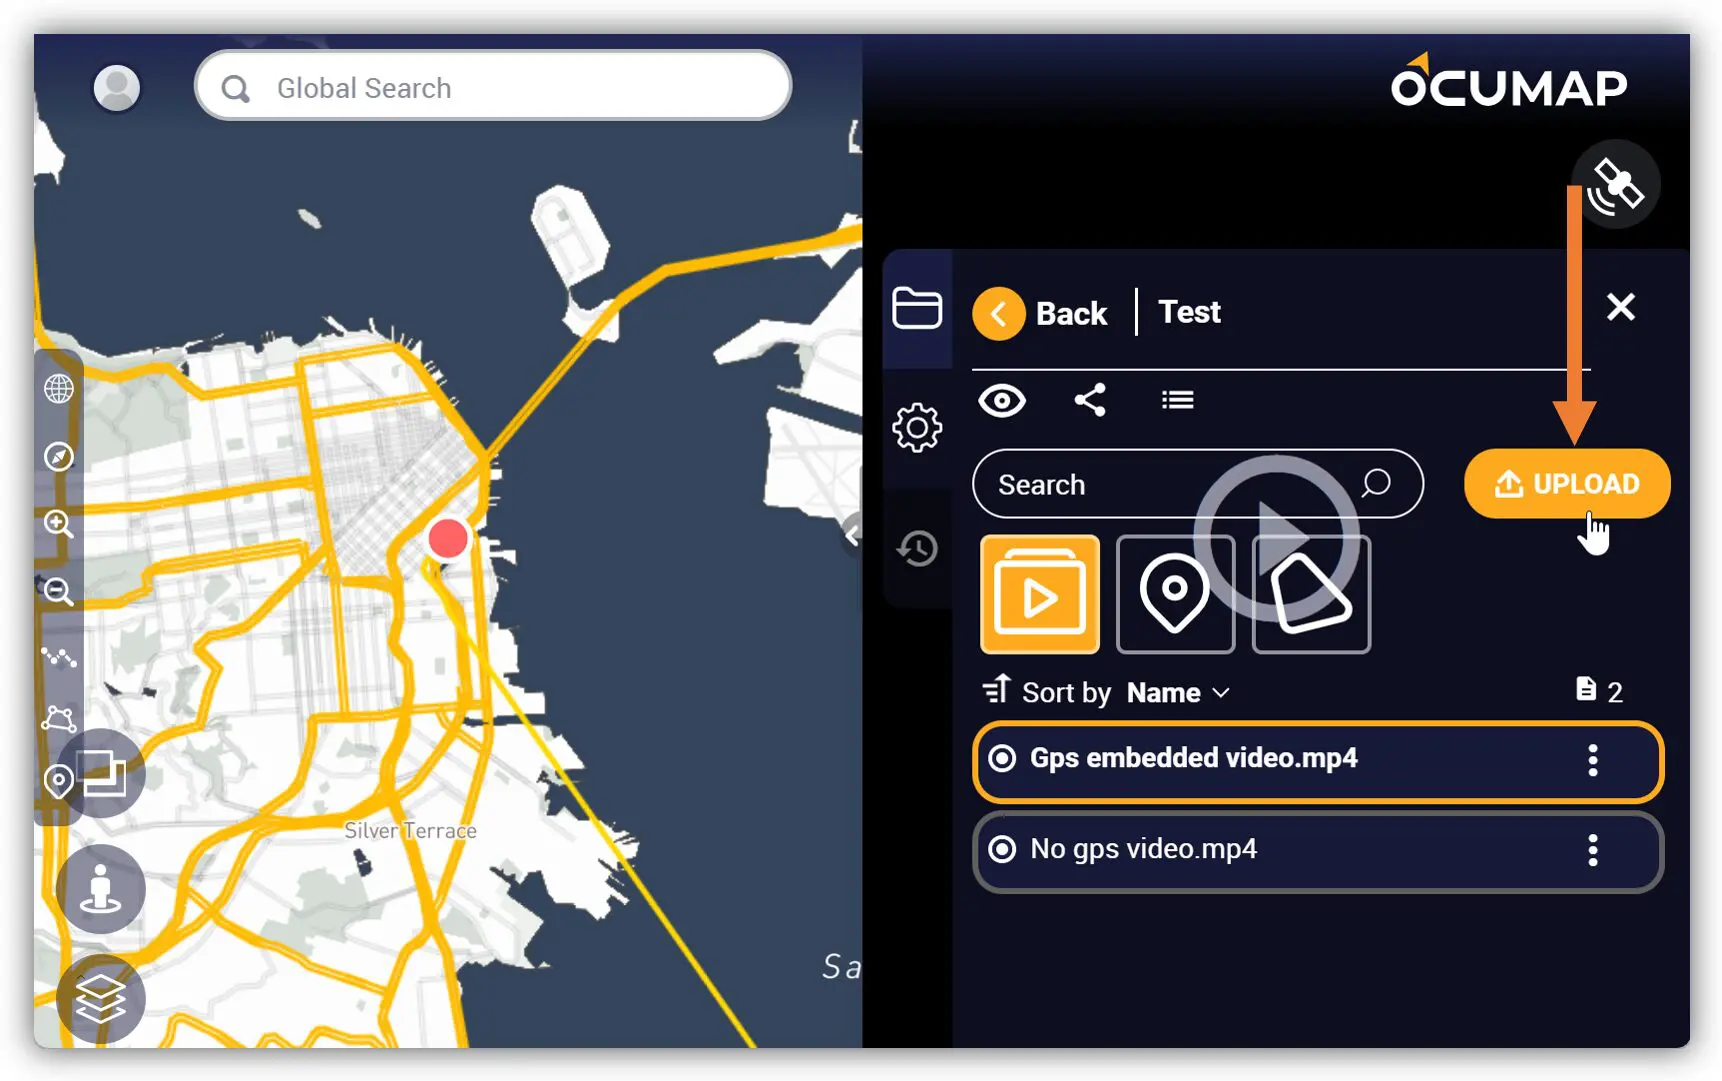
2. On the Project Menu, find and click the UPLOAD button.
3. The Upload File window will appear, click the DWG tab before uploading the file(s).
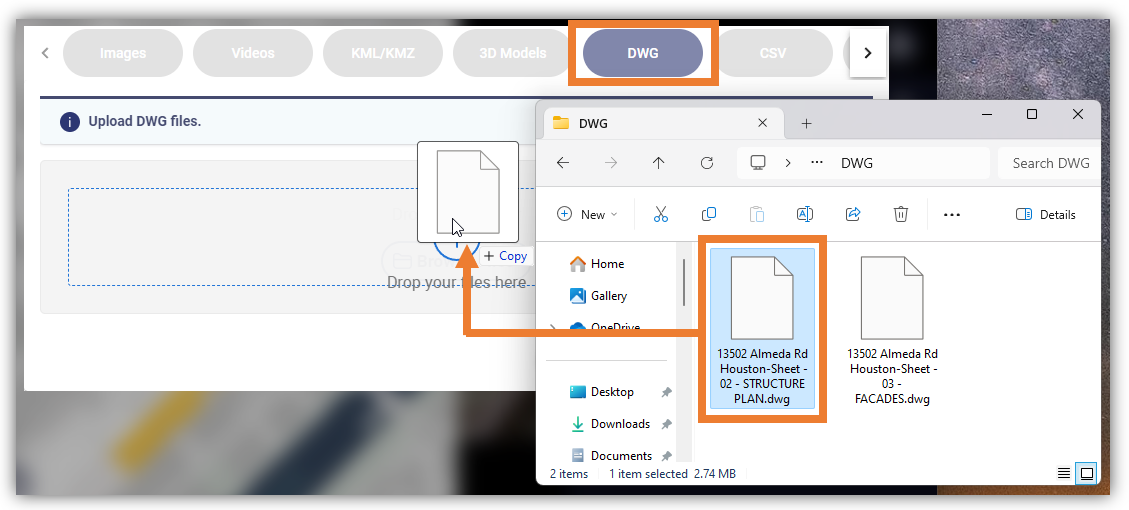
4. You can use the Browse Files button to manually select the image file or Drag and Drop the file(s) in the DWG section.
a. Note: You can add multiple file(s) by dragging and dropping them in the DWG section.
5. After adding the file(s) click the Upload button. Once the DWG file is uploaded, the DWG icon will appear in the Project Menu.

6. Your DWG file will then be displayed as shown

7. Adding Address to your DWG file. Select the file of interest, click on the three dots

Then select the pin Icon, a popup will appear with an option to add an address to your DWG file.