Geotagging POI
How to Geotag inside an image or a video
One of the most powerful features of OcuMap is its Geotagging. You can geotag objects inside a GPS-embedded video or image. The instructions below will walk you through how to geotag a point in a video.
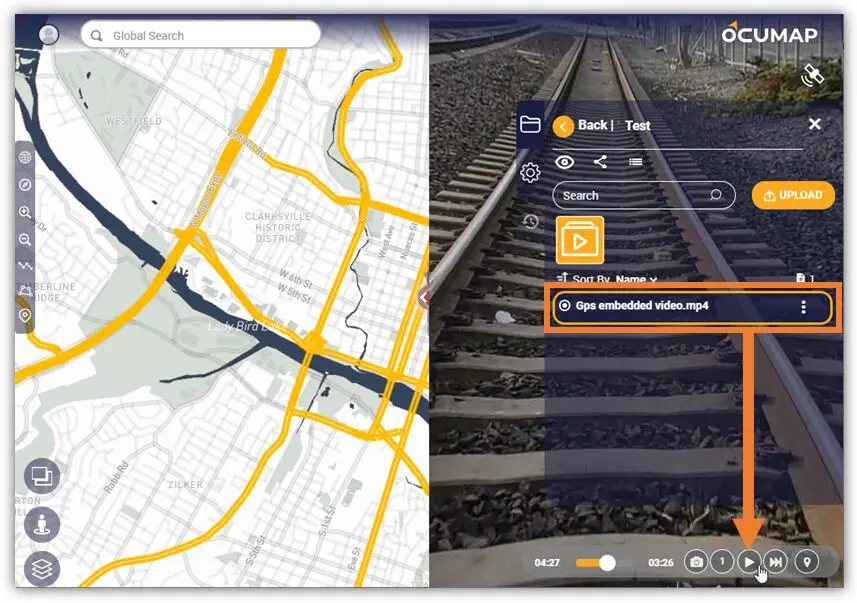
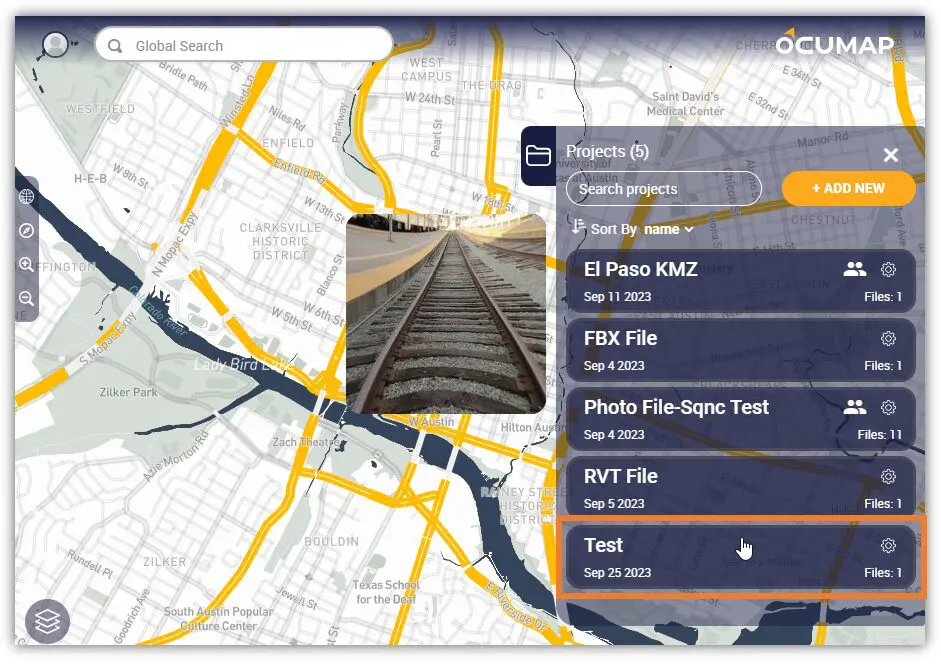
1. Go to the Project where the video is uploaded and Play the video.
-
- Note: you can hide the Project Panel by clicking the Folder icon above the Project Settings icon.
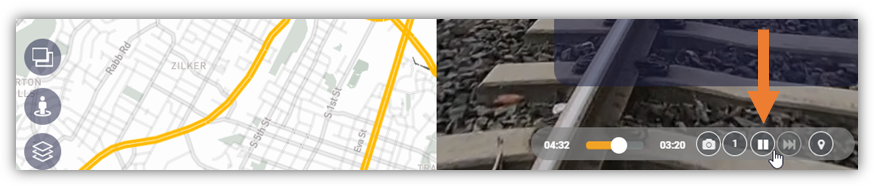
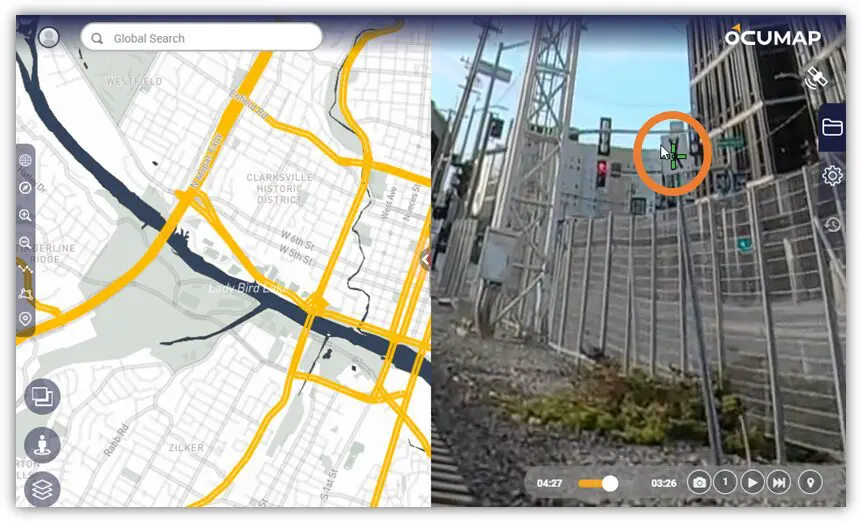
2. Pause the video at the location where the POI must occur or click on the image you want to Geotag a feature in.
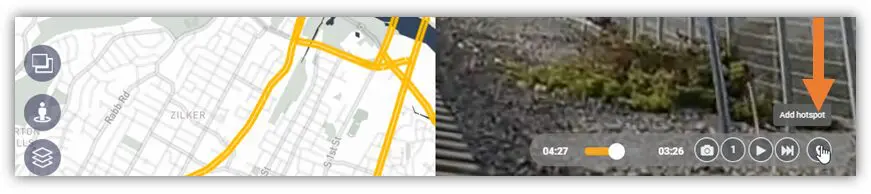
3. At the bottom right of the Viewer, find and click the Add Hotspot icon.
4. Point your Cursor at the location of interest and Left-Click to add the mark.
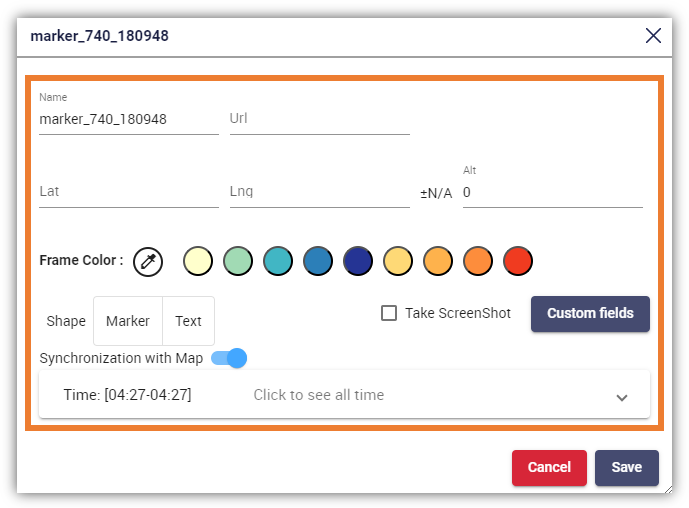
5. The Marker window will appear. In this window, you can specify the details and define the following configuration:
-
- Marker Name
- URL
- Frame Color
- Shape
- Take Screenshot
- Custom Fields
- Enable/Disable Synchronization with Map
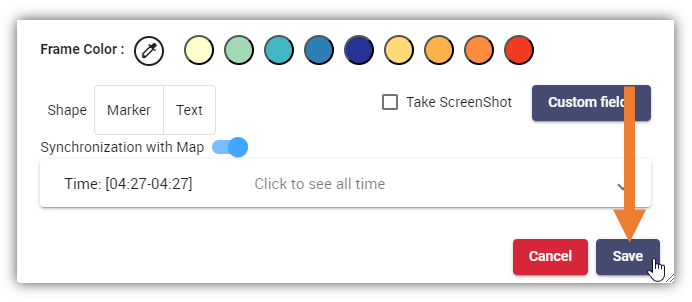
6. Review the changes and click Save. A Green icon will appear inside the image and a Pin will be displayed on the map for the POI.
If you want to change the location of the POI on the map, click and drag the pin on the map to the preferred location. OcuMap will grab the coordinates from the base map and update the POI position accordingly.
Adding Multiple Fields within the POI
You can log unlimited data fields in a single POI by adding a comma after each field.
1. Go to the Project where the GPS-embedded video/image is uploaded.
2. In the Project Panel, find and click the POI icon to filter the list below to only display POIs.
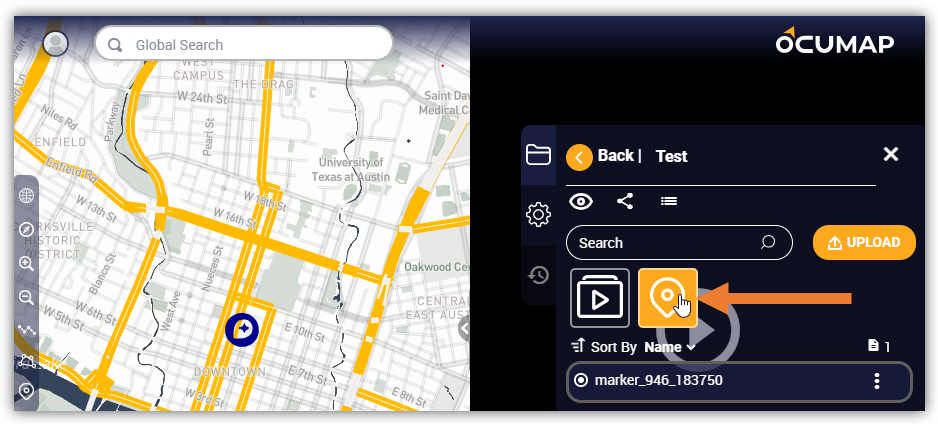
3. In the Sort By list below, find the POI that you want to update and click its Settings (3 dots) icon.
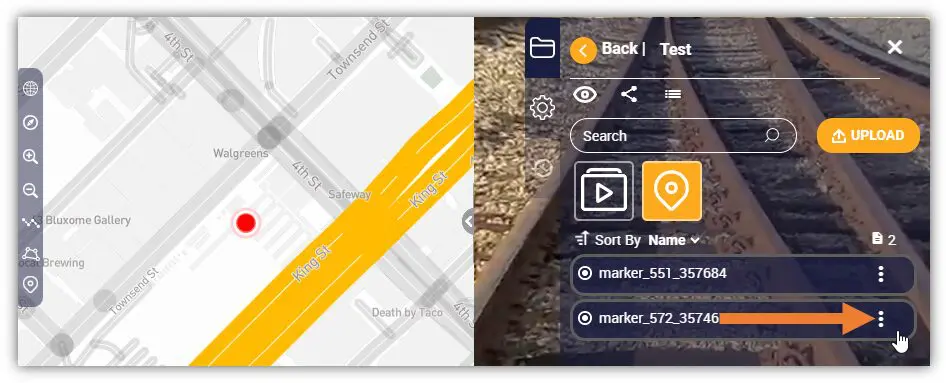
4. More options will be enabled, click the Edit icon to access the Marker window.

5. The Marker window will appear. In the Name field, type at least 5 descriptions (e.g. item name, date, possible label).
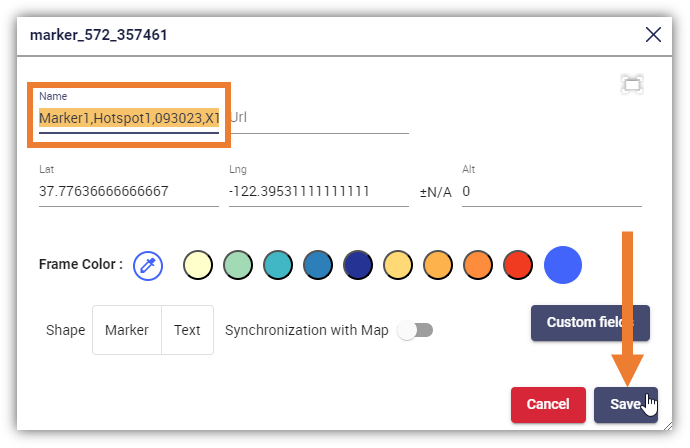
6. After updating the marker, click Save.
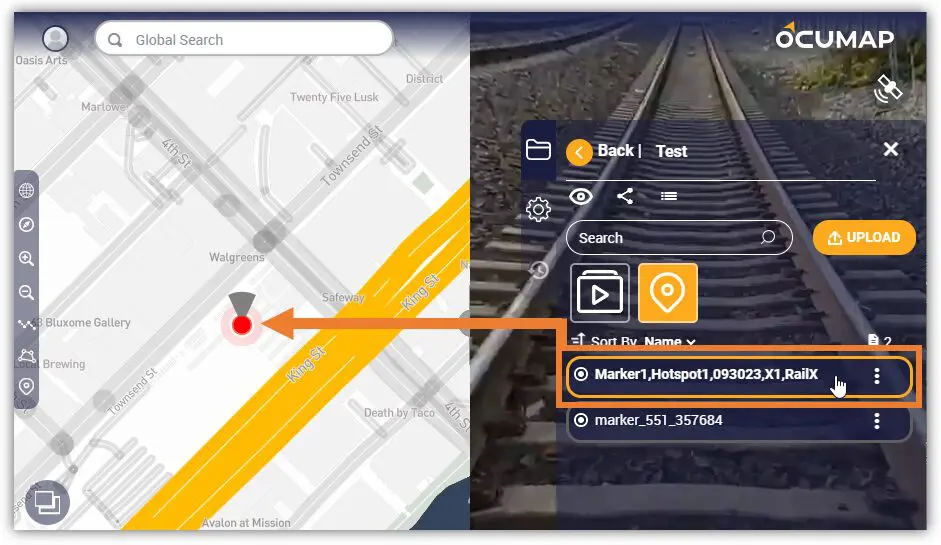
7. To lock the location of the POI click the cursor anywhere inside the image.
The newly added POI will have 4 fields and can be viewed as separate columns inside the exported CSV file. See Downloading the POI data file for more info.
Navigating to your POI
There are two (2) ways to access existing POIs. First, you can directly access POIs directly from the map. Simply click the Hotspot icon to select and access the POI.
Alternatively, you can access POIs within a project to do this, follow the steps below:
1. Open a Project and ensure that the Hotspot icon is active.
-
- Note: The Hotspots list only appears if the project contains images/videos and existing hotspots are added.

2. Find and click the POI name in the list to select. OcuMap will directly take you to the POI’s location in the video file and on the map.
Downloading the POI Data File
Downloading all sorts of files (e.g. POIs, Shapes, etc.) will now be done using the File Manager Table. This table is accessible from two (2) different features. First, access the File Manager Table using the Accounts Settings icon. To do this, follow the steps below:
1. Ensure that you are already logged in to your OcuMap account.
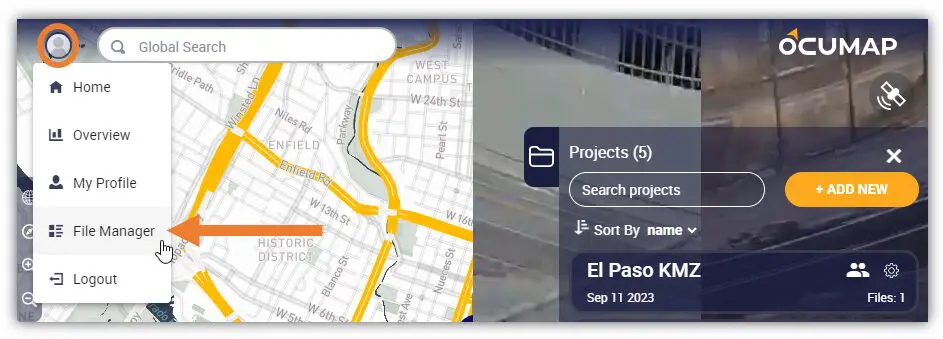
2. Click the Account Settings icon and select File Manager.
3. You will be directed to the File Manager tab. Find the Project where the files are uploaded to. Hover your cursor to the Manage icon and click it to access.

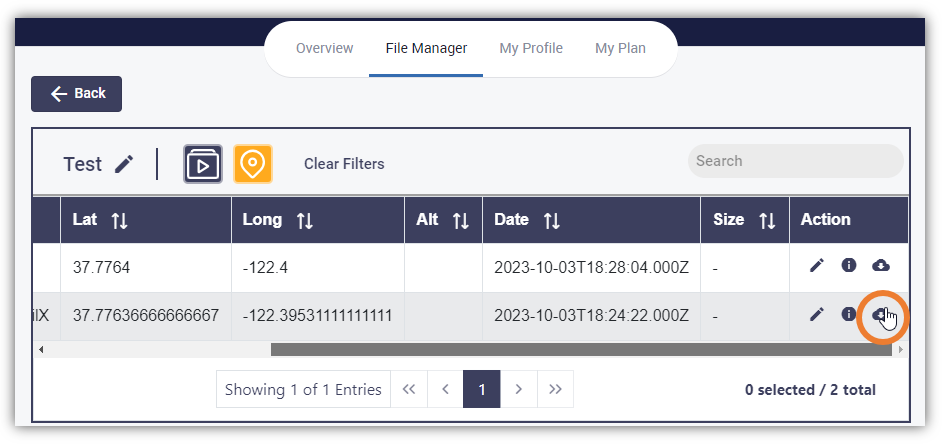
4. The File Manager Table will appear, click the POI icon to display the project’s POI.
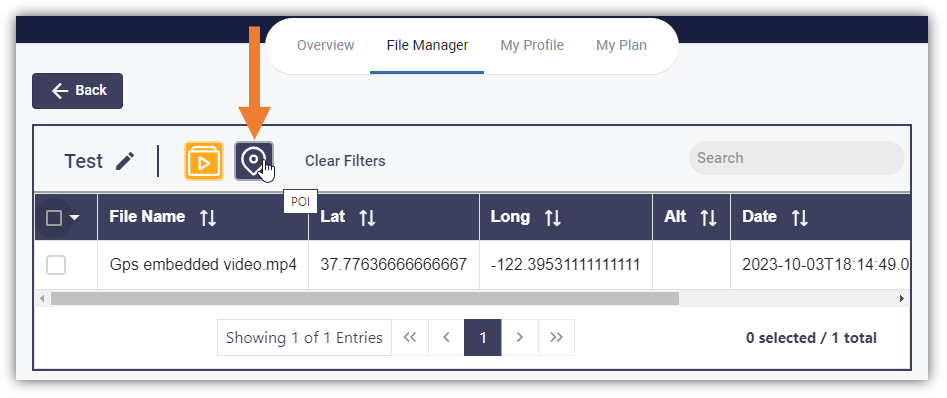
5. To download the POI data file(s), find the POI, navigate to its Action column, and click the Download icon. You can also select all, then go to Action, Export, Select CSV or SHP to download your data.