In this article, you will learn how to create a new project. A Project contains all data related to a specific geographic location.
1. Ensure that you are logged in. By default, you will be directed to the Home screen when signing in to your account.
2. On the Projects Panel, click the + ADD NEW button.

3. The Name your Project window will appear. Specify the following:
-
- Name: Enter the project name.
- Address: This is an optional input, you can create a project with or without an address.
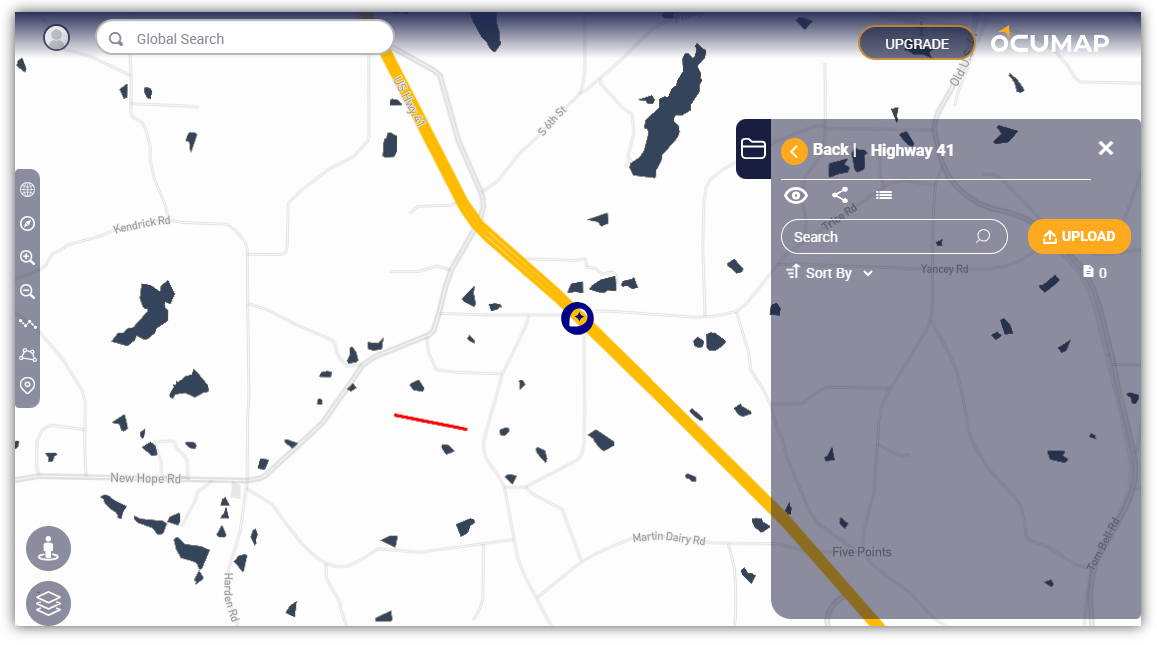
4. Click Save to create the project. Once you click the Save button, you will be directed to the newly created project.